Complete Guide to Dexcom G7 Sensor: Usage, Replacement, and Application
The Dexcom G7 is a continuous glucose monitoring (CGM) system designed to provide real-time glucose readings without the need for finger pricks. This guide covers essential information on the lifespan, replacement, and application of the Dexcom G7 sensor.
Getting Started with the Dexcom G7 App: A Step-by-Step Guide
The Dexcom G7 continuous glucose monitoring system is designed to be easy to set up and use. In this guide, we will walk you through the process of setting up your Dexcom G7 app and sensor, ensuring a smooth start.
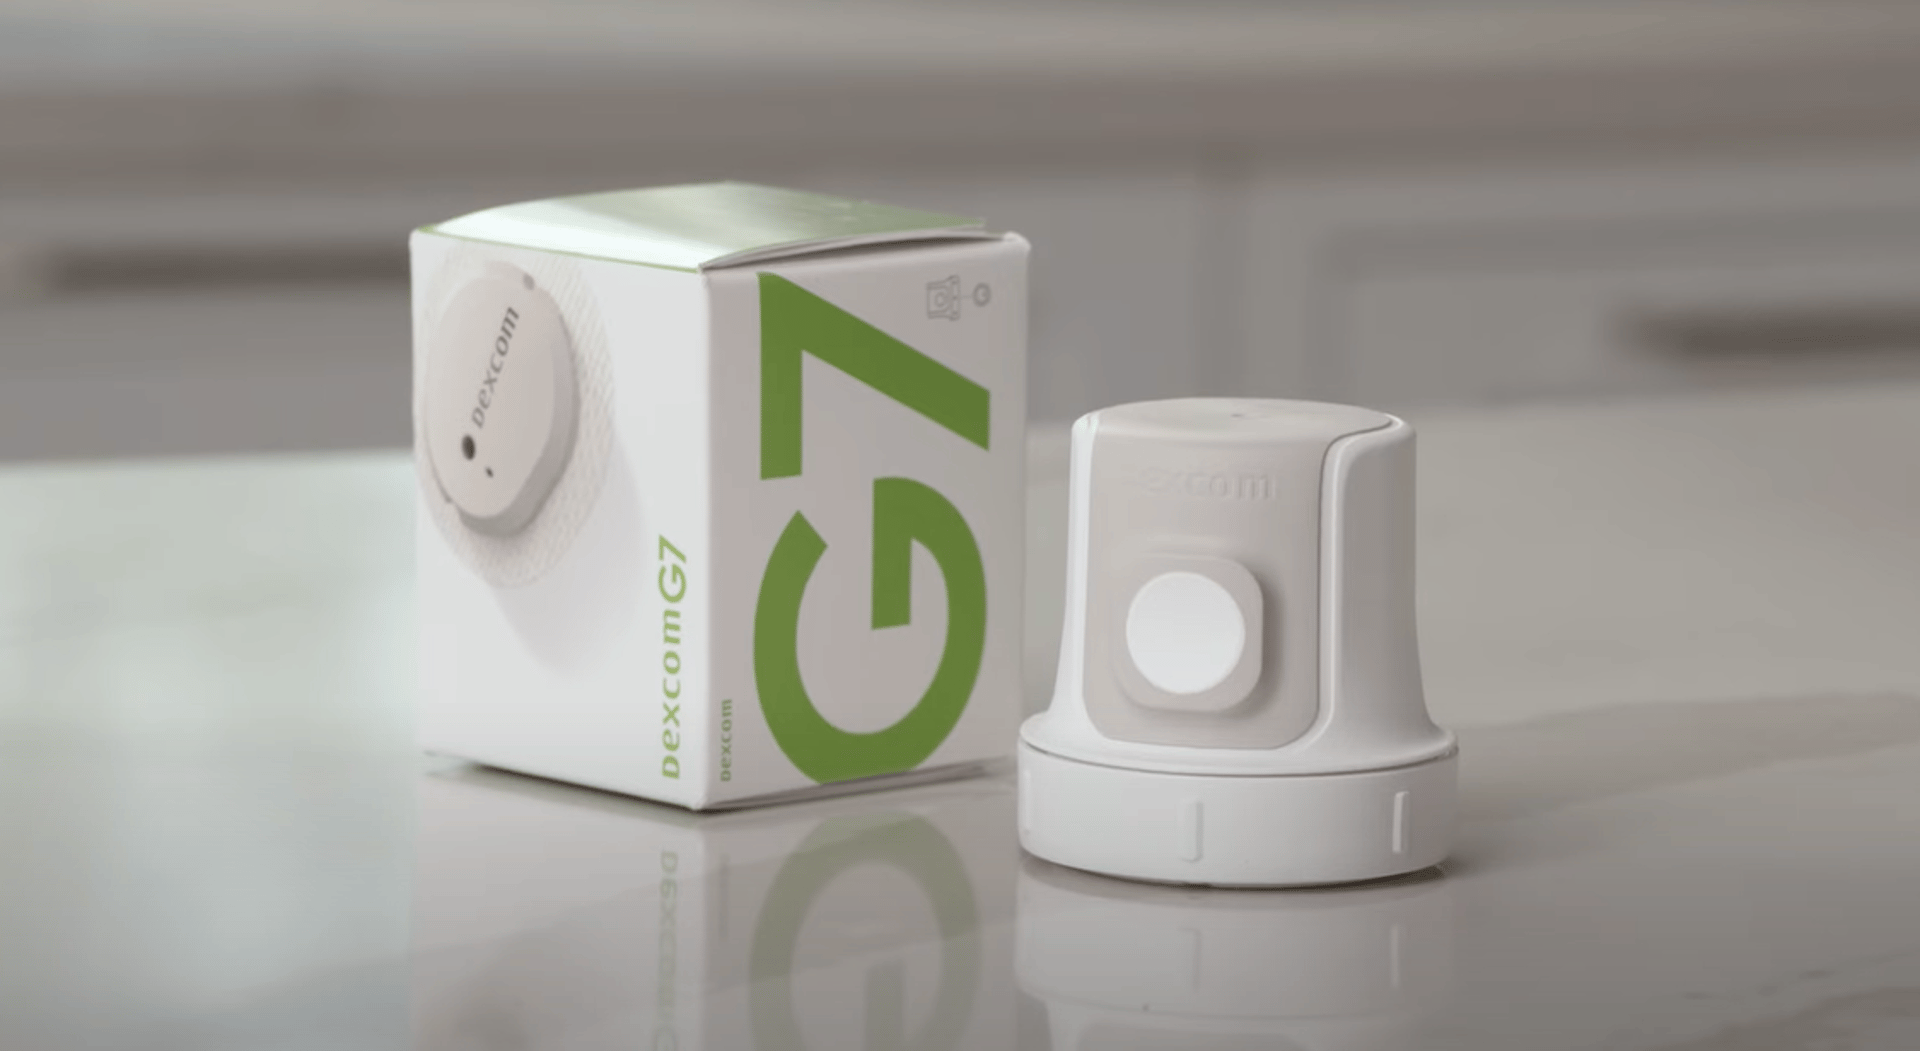
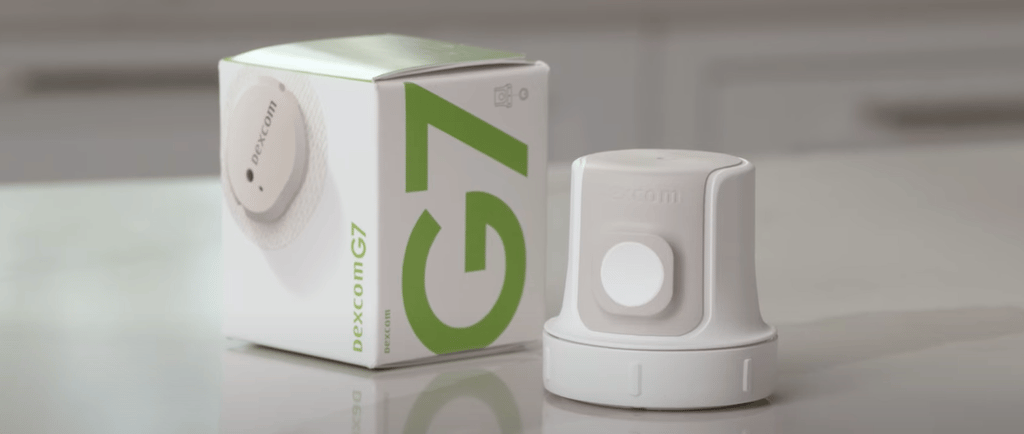
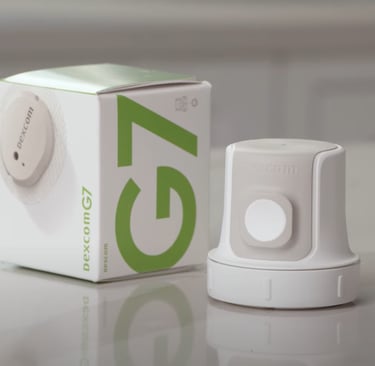
Step 1: Unboxing Your Dexcom G7 System
When you receive your Dexcom G7, the box will contain:
The applicator with a built-in sensor
An overpatch
Instructions for use
Step 2: Download the Dexcom G7 App
To begin, download the Dexcom G7 app on your smartphone. Once installed, you will need to create a Dexcom account or log in with an existing account.
Step 3: Guided Setup in the App
Once logged in, the app will guide you step by step through the setup process:
Overview Section – This section provides essential information about your Dexcom G7 system.
Enter Your Sensor ID – Take your sensor and use your phone’s camera to scan the code.
Educational Resources – The app provides instructional videos and screens to help you understand how to use your Dexcom G7.
Enable Bluetooth and Adjust Phone Settings – Ensure Bluetooth is turned on and configure other necessary phone settings for proper connectivity.
Step 4: Inserting Your Sensor
Proper sensor insertion is crucial for accurate readings and a comfortable experience.
Choose the Sensor Site – Select a location on the back of your upper arm with enough fat to avoid muscle. Avoid areas that may be bumped or pushed frequently.
Prepare the Site – Wash and dry your hands, then clean the selected site with an alcohol wipe. Allow it to dry for at least 10 seconds.
Apply the Sensor –
Grab the applicator and unscrew the cap without touching the inside.
Press and hold the applicator firmly against your skin.
Push the button to insert the sensor, then remove the applicator.
Press on the sensor for 10 seconds and rub around the patch three times to secure it.
Step 5: Applying the Overpatch
Locate the overpatch included in the box with your instructions.
Carefully peel off the clear liners one at a time, avoiding contact with the white adhesive area.
Use the colored tab to position the overpatch around the sensor. A mirror may be helpful for this step.
Rub around the overpatch to secure it, then peel off the colored liner and rub again to ensure proper adhesion.
Step 6: Pairing the Sensor with the App
Open the app and press the Pair Sensor button.
Wait for the pairing process to complete.
Once paired, your sensor will enter the warm-up phase.
Step 7: Sensor Warm-Up and Alerts
The app will display a sensor warm-up timer, indicating when you will start receiving glucose readings and alerts.
After the warm-up, you will begin receiving real-time glucose readings and alerts.
You can customize your alerts anytime under the Profile > Alerts section.
Final Thoughts
Congratulations! You have successfully set up your Dexcom G7 system. Your sensor is now ready to provide continuous glucose monitoring, helping you manage your diabetes with confidence.